INSTRUCTIONS FOR THE USE OF COMBINATION BOXES
1. Since our products are used in electrical circuits, they must be assembled by qualified personnel for this type of assembly and in accordance with the electrical regulations in force at the place of installation.
2. They must be used by trained technical personnel, in accordance with the instructions.
3. The appropriate cable must be selected for the connections of our products. A tongue or welding method is used on the cable connections and the connection points are tightened with the appropriate force.
4. It should not be used outside the specified IP protection category.
5. As long as it is powered, it should not be mounted or changed.
6. Our products are not used in explosive places, homes or marina.
7. Bemis Teknik Elektrik A.Ş is not responsible for accidents caused by failure to follow instructions.
8. Two representatives of Bemis Teknik Elektrik A.Ş. must be present at the committee of experts that is constituted for the detection of accidental situations that may occur due to the failure of our products. This article is the permanent of special conditions. In case of dispute, the Courts of Bursa (Turkey) are authorized.
9.The warranty period is 2 years if used in accordance with the assembly and use instructions. In case of misuse or assembly, the product is outside the scope of the warranty.
Bemis brand products are manufactured by Bemis Teknik Elektrik A.Ş.
Installation Guide Model
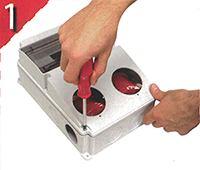
1. Open the front cover by unscrewing the 4 screws.
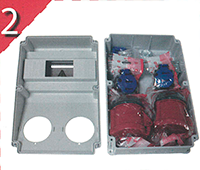
2. Check the materials inside according to the product code.
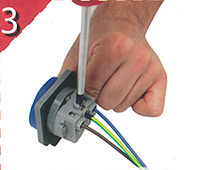
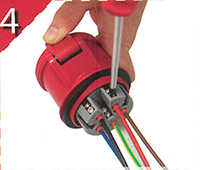
3. Connect the plug cables with cables of suitable section and length.
4. Connect the plug cables with cables of suitable section and length.
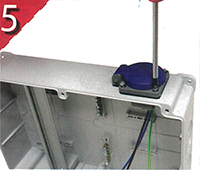
5. Attach the side plugs to the holes prepared with the screws coming out of them.
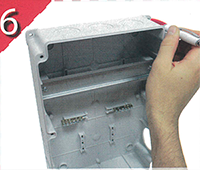
6. First, mark the places to be drilled in 4 points as in the image.
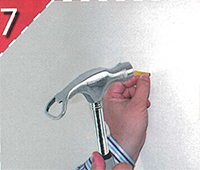
7. Insert the
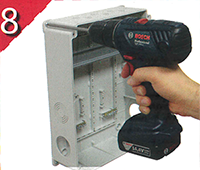
8. Fix the combination with the
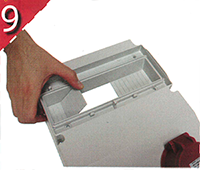
9. Open the space of the vending machine as much as the amount of vending machine to be installed.
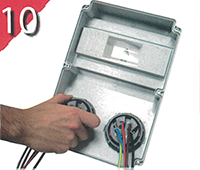
10. Fix the plugs with nuts by turning them as in the picture.
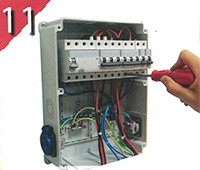
11. Place the automatons in the rail and make the cable connections.
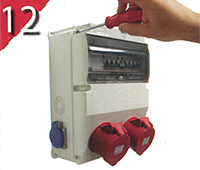
12. Prepare it for operation by placing the combined cover.
Installation Guide
Construccines PBR s.l. (ADAJUSA), certifies that the data presented here are a faithful reproduction of the data provided by the manufacturer.
|
|
|
|
|
|
|
|
|
|
|
|

